
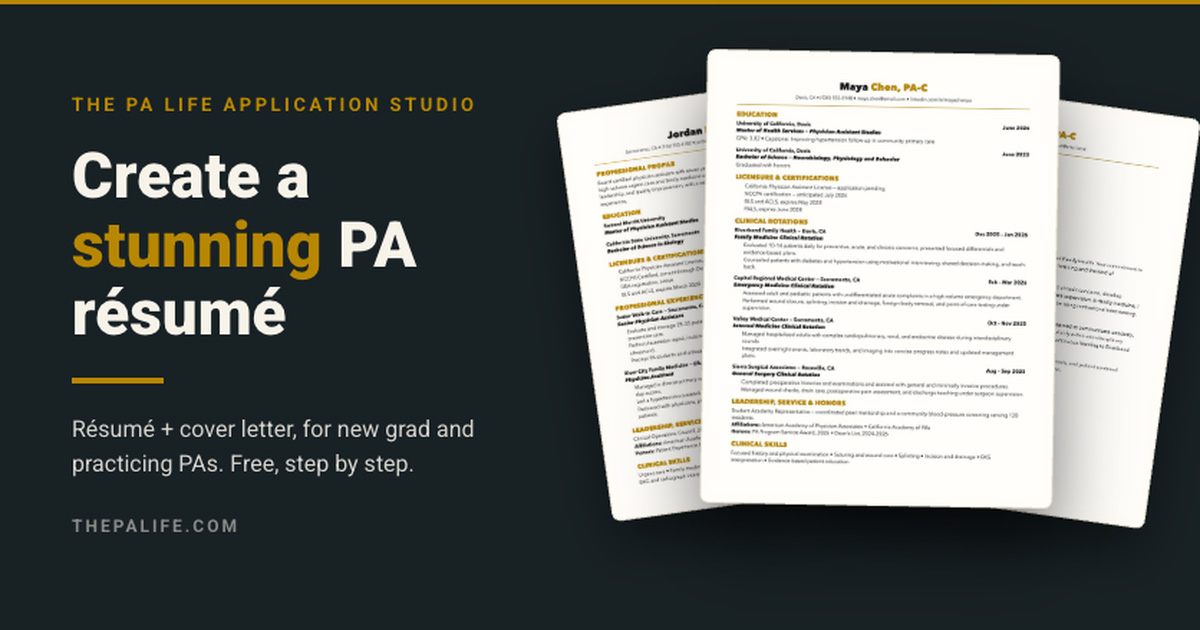
No design skills, no template wrestling, no fight with Microsoft Word. Here’s the complete step-by-step walkthrough of the free PA Life Application Studio I built — from first click to print-ready document.
Here’s the kicker — the hardest part of a PA résumé was never the content. You lived the content. It’s the formatting: the margins that shift when you sneeze, the section that jumps to page two, the hour you lose making dates line up.
So I removed that part entirely.
The PA Life Application Studio is a free, browser-based builder that walks you through a PA résumé section by section while a live preview assembles the finished document beside you — in the same approved PA Life format you’ll find across my templates and samples. Creating and printing are free. No blank page, no template wrestling, no guesswork.
Let me walk you through the whole thing, screen by screen.
Step 1: Choose your path
Open the Studio and you get one decision, not forty: are you a new graduate PA or a practicing PA? Each path asks different questions — new-grad mode prioritizes rotations, training, and clinical readiness; practicing mode leads with scope, outcomes, leadership, and specialty depth.
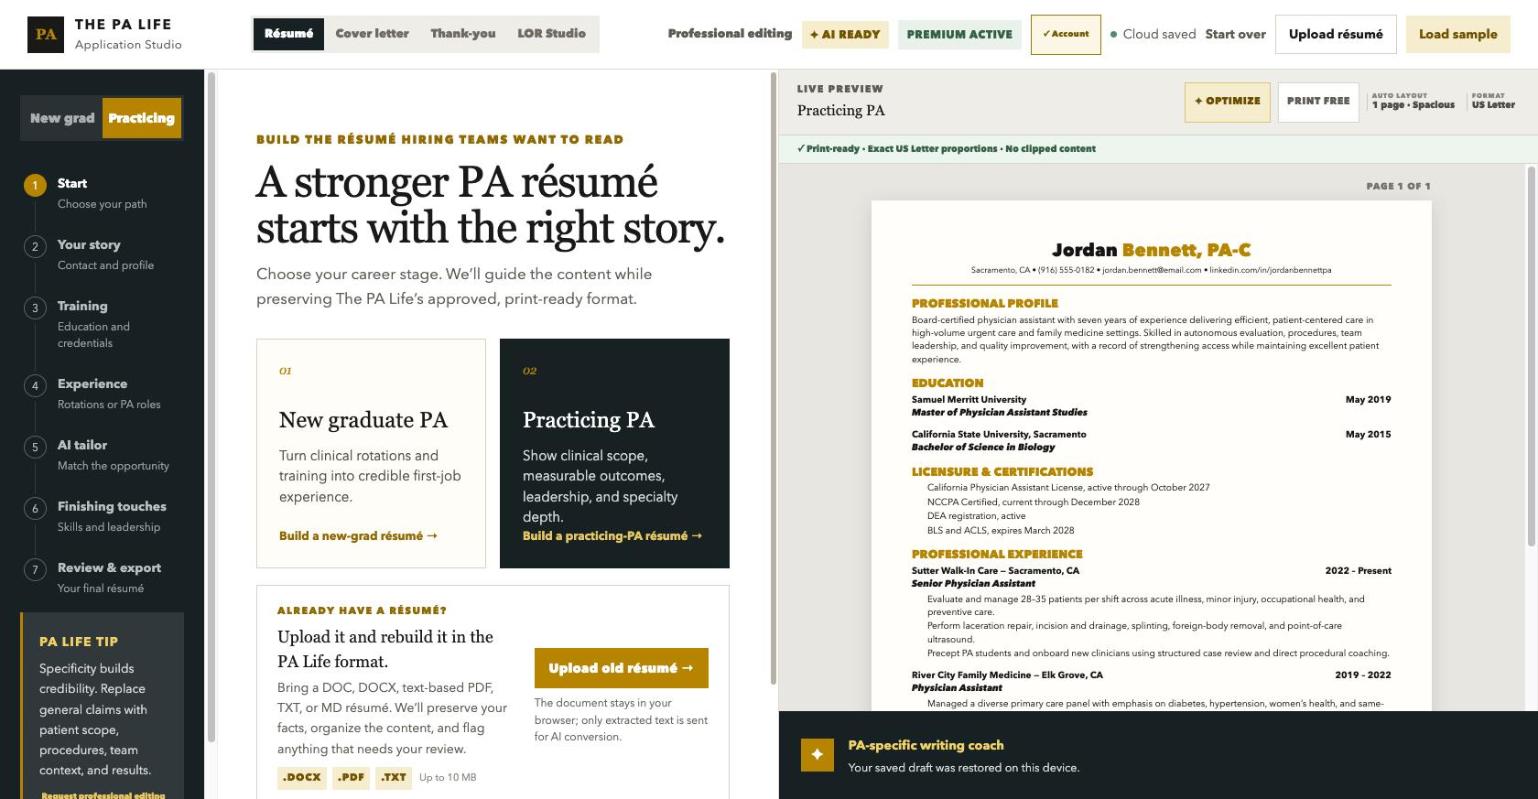
Two career-stage paths — plus the option to upload an old résumé and rebuild it.
Already have a résumé? The upload box takes a DOC, DOCX, text-based PDF, or TXT file and rebuilds it in the PA Life format — your facts preserved, the formatting redone for you. (The document stays in your browser; only extracted text is sent for the AI conversion.)
Step 2: Start with the essentials
Name, credentials, target role, city, contact details. Type into the form on the left — watch the document build itself on the right.
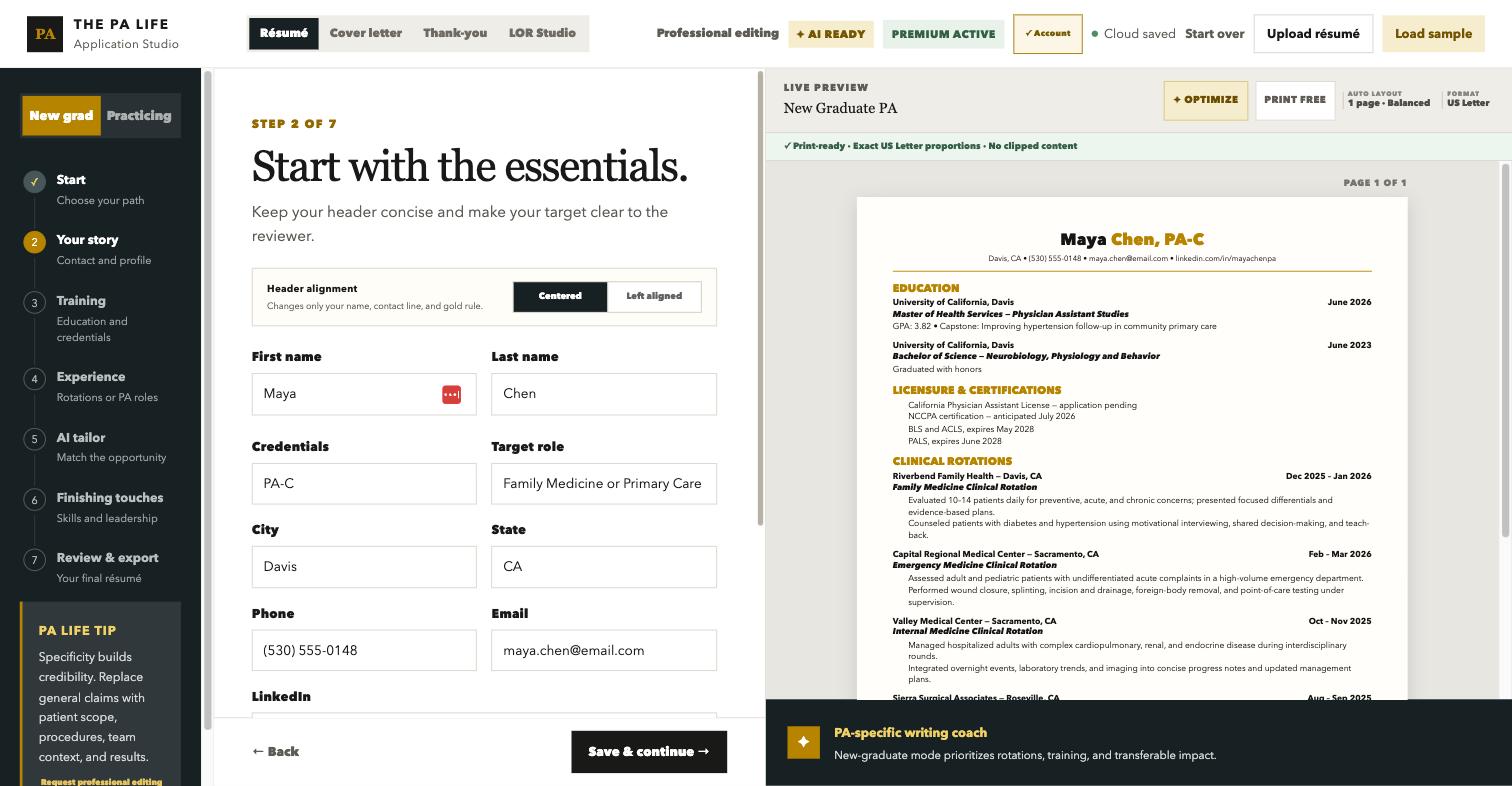
The live preview updates as you type — what you see is exactly what prints.
That live preview is the whole trick. There is no “export and pray” moment; the page you’re looking at is print-ready US Letter the entire time, and the Studio tells you so right above the document.
Step 3: Establish your clinical foundation
Education and credentials, in the order hiring teams check them. The Studio’s guidance here is the same advice I give in person: list credentials accurately, and never imply a license or certification is active before it’s issued. “Application pending” with a date is honest and completely normal — recruiters just need your timeline.
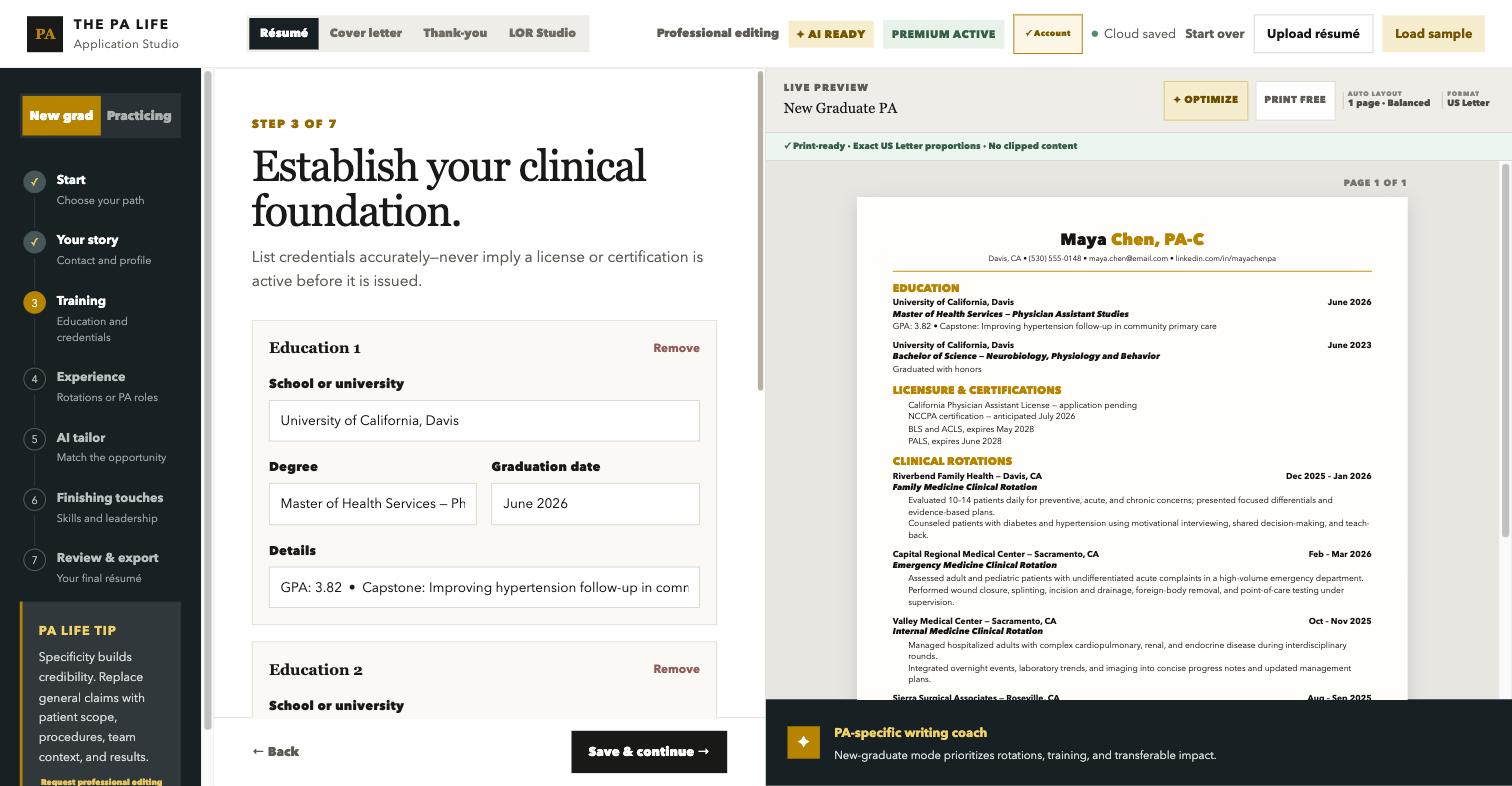
Education, licensure and certifications — with PA-specific guidance at every field.
Step 4: Make rotations read like experience
For new grads, this is the heart of the document — and the Studio treats it that way. Each rotation gets an organization, location, specialty, dates, and impact bullets, with coaching built into the form: lead with patient care, clinical reasoning, procedures, teamwork, and communication — not passive observation.
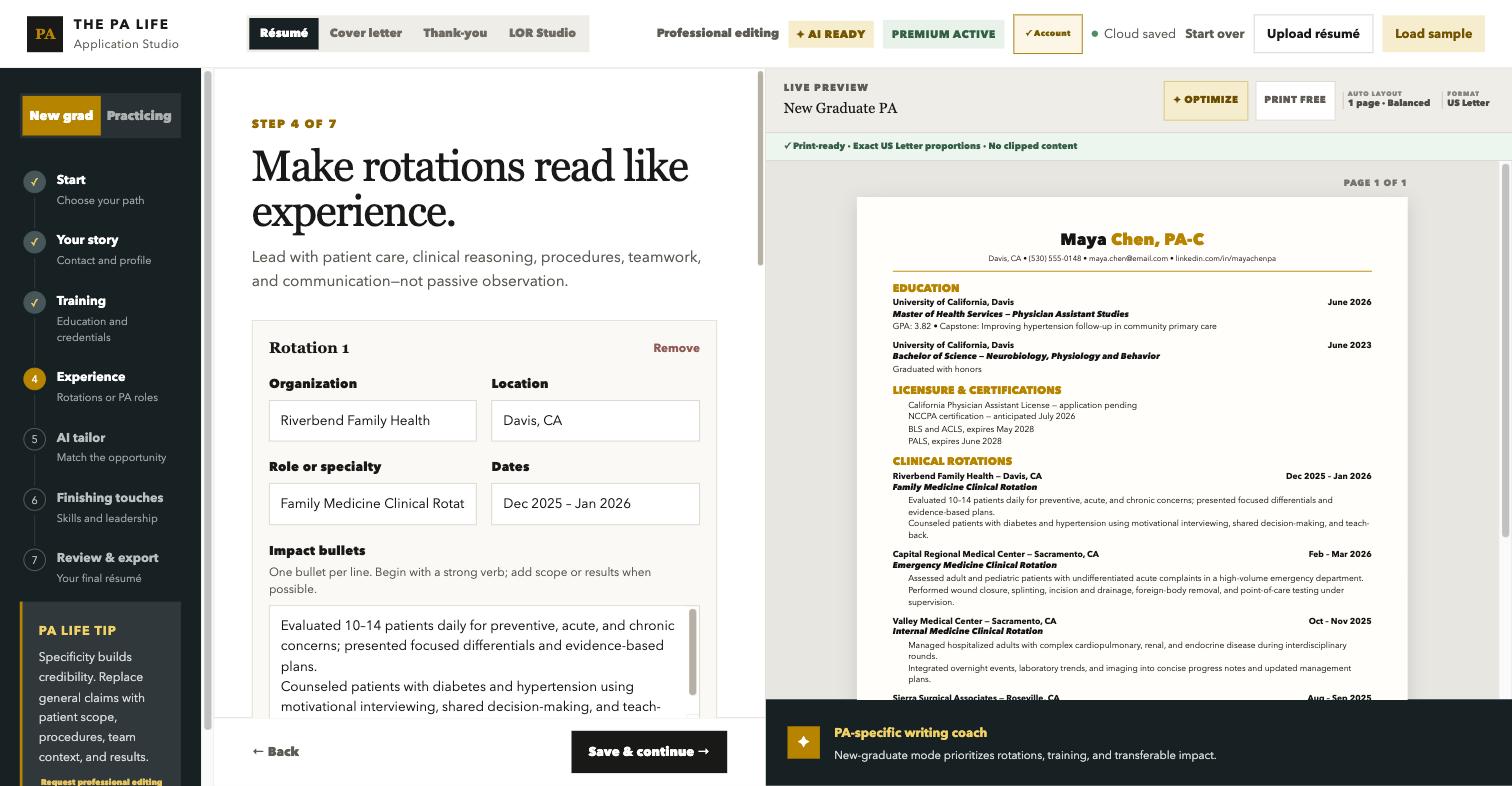
One bullet per line, strong verbs first — the form coaches you while you write.
If you want to go deeper on what makes a rotation bullet actually land, I broke down the full formula — with good and bad examples — in the new grad PA résumé guide.
Step 5: Tailor it to the job (the AI part)
This is my favorite screen in the Studio. Paste in the job posting, answer a short “three-minute PA interview” about what you personally handled, and the AI coach tailors your bullets to the opportunity — with one hard rule I insisted on: it improves relevance without fabricating metrics, credentials, or clinical responsibility. Your résumé gets sharper, not fictional.
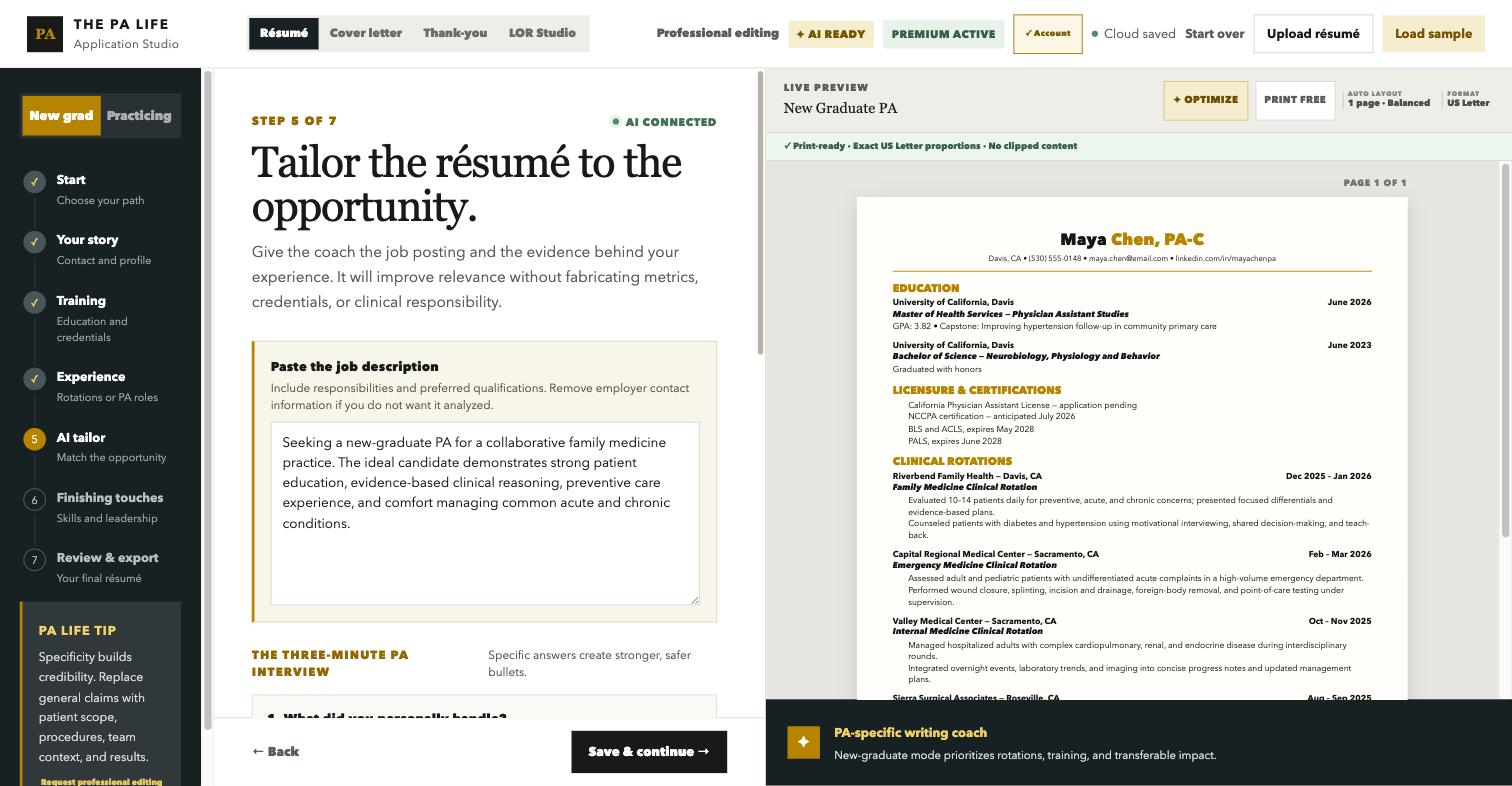
Paste the posting, give the evidence, and the coach tailors — never invents.
AI drafting, résumé upload, and Word/PDF downloads are part of Studio Premium ($29 for 90 days). Everything else in this walkthrough — building, guidance, live preview, printing — is free.
Step 6: Add the evidence around your experience
Clinical skills, leadership, quality improvement, affiliations — the sections that separate two candidates with similar clinical backgrounds. The Studio’s standing rule: use only skills you can discuss confidently in an interview.
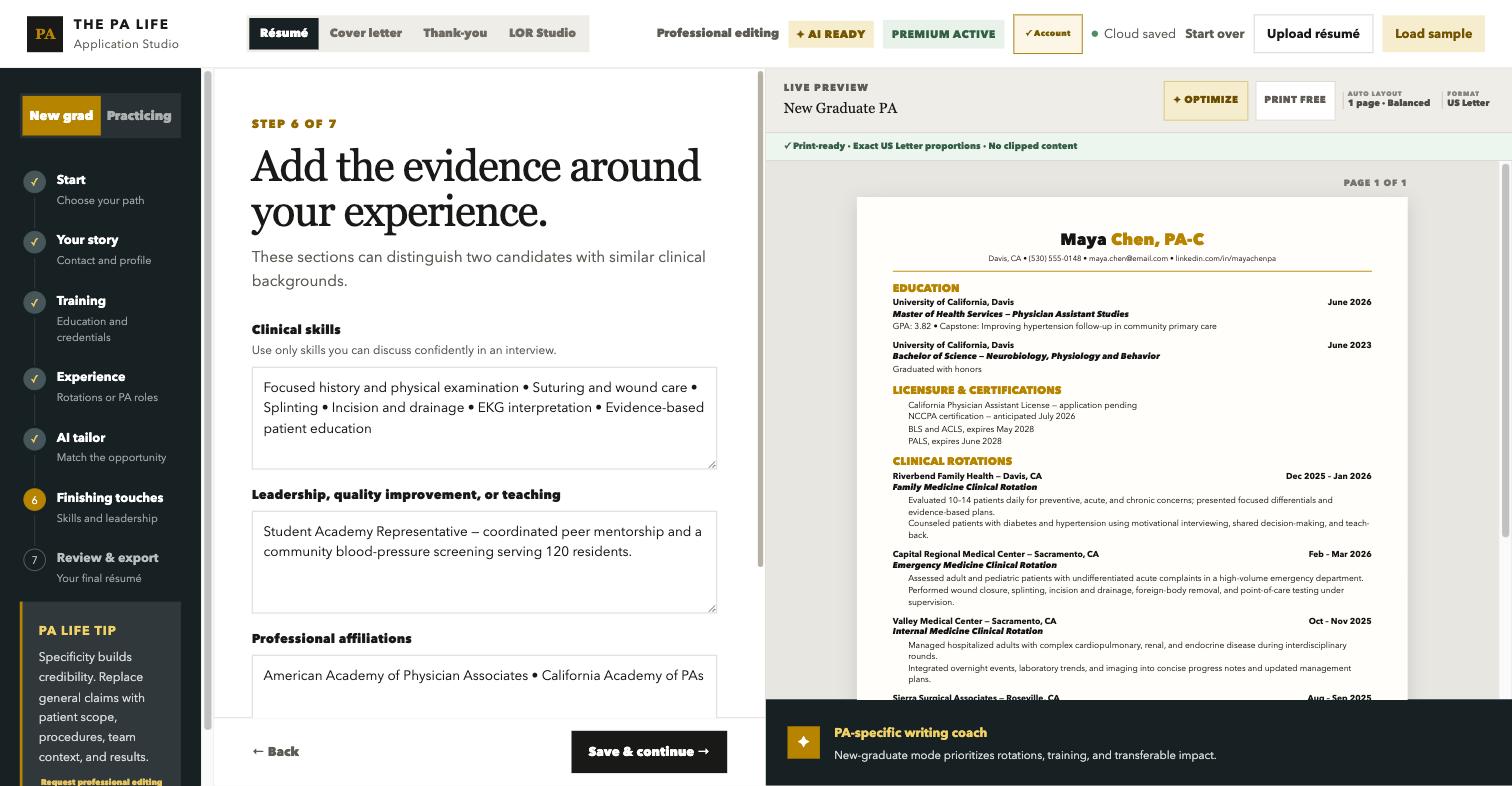
Skills, leadership and affiliations — evidence, not filler.
Step 7: Review, print, export
The final screen scores your foundation, runs the checks a hiring team would — professional contact details, clearly labeled credentials, action-led bullets, ATS-friendly print-ready format — and gives you three ways out: print free from your browser, or download an editable .docx or polished PDF with Premium.
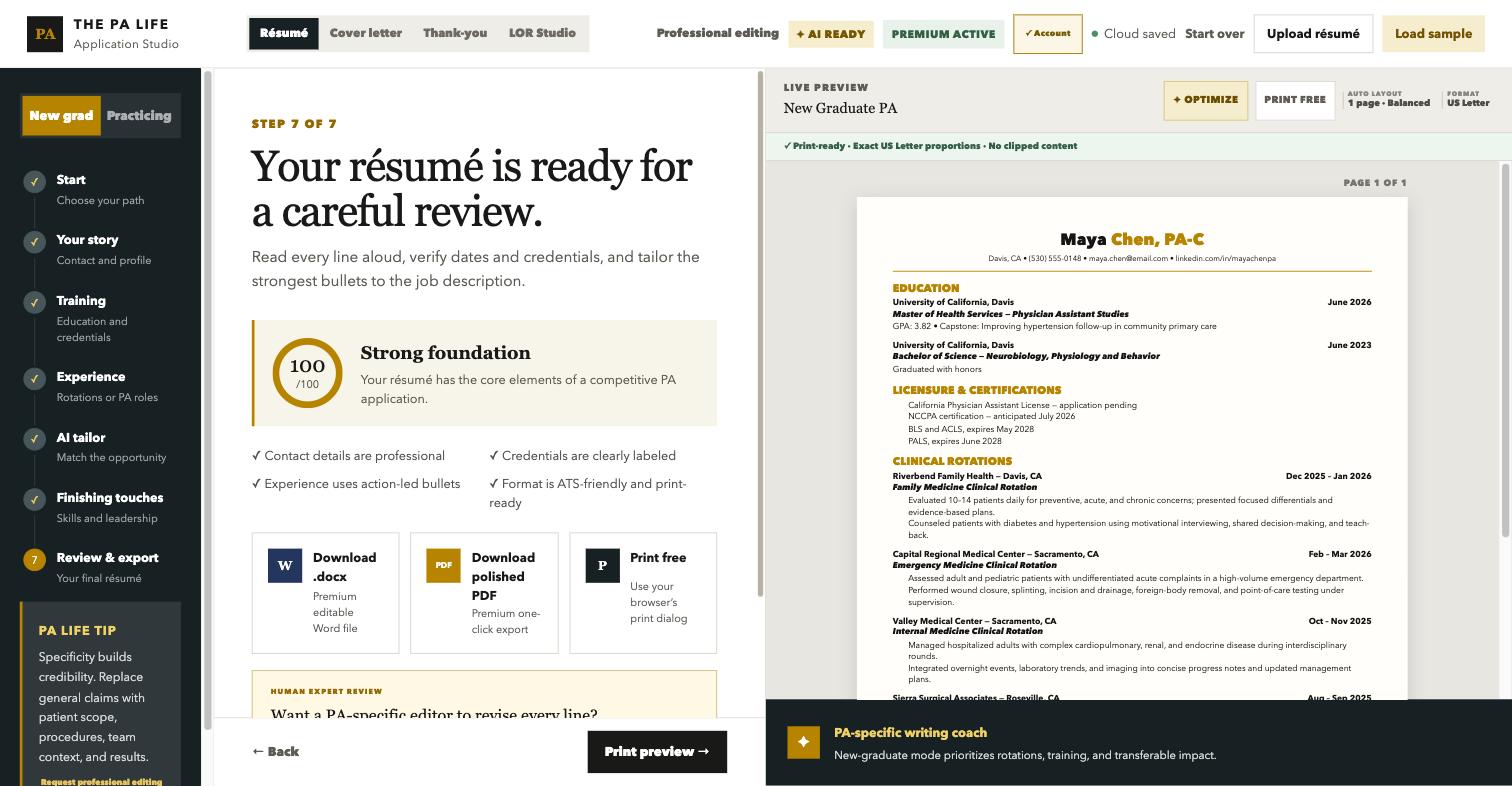
The final review — read every line aloud, verify dates, then print or export.
And here is what comes out the other side — the same document the Studio was building beside you the whole time:
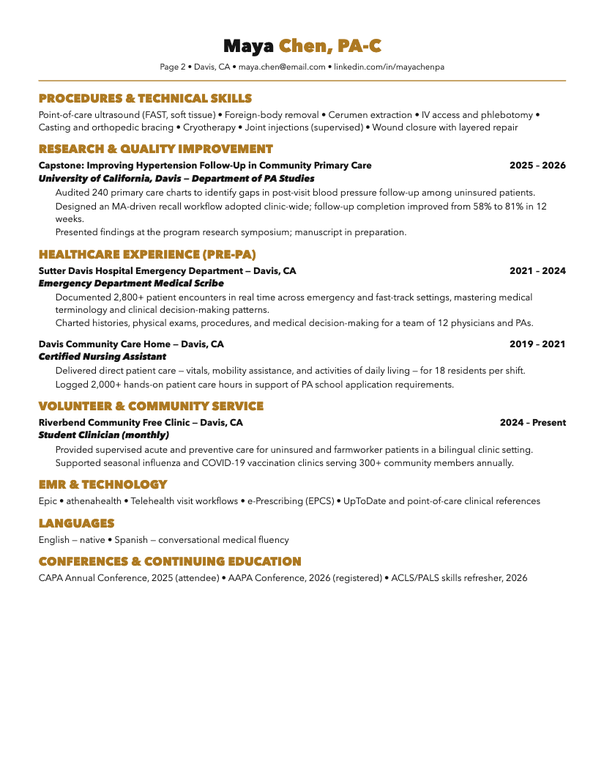
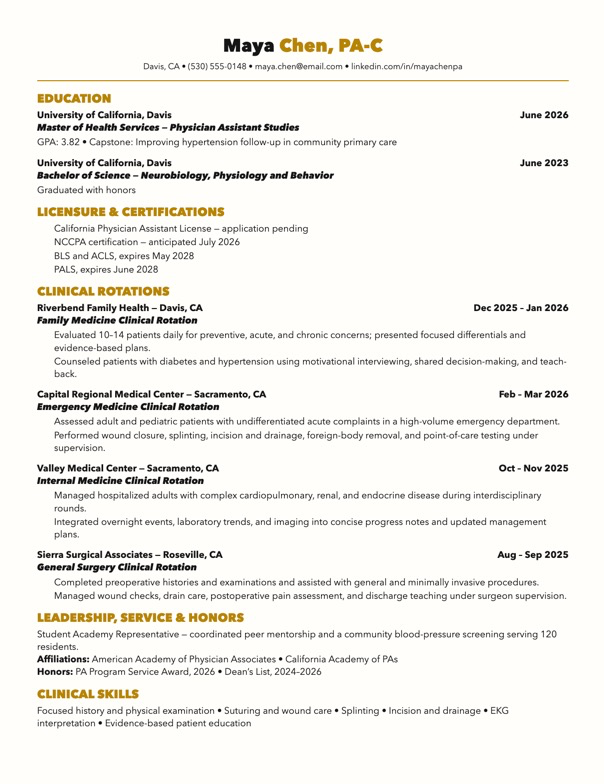
The finished product — one page or two, when your experience earns it. Clean, scannable, print-ready, and you never touched a margin.
The Studio doesn’t stop at the résumé
Your résumé gets you considered. The rest of the application set gets you remembered — and the Studio builds those in the same coordinated format, reusing the facts you already entered.
The Cover Letter Builder connects your evidence to one specific opportunity — start from the sample, pull in your résumé details, or let the AI coach draft a job-specific first pass you then make your own. (Here’s why the cover letter matters more than most PAs think.)
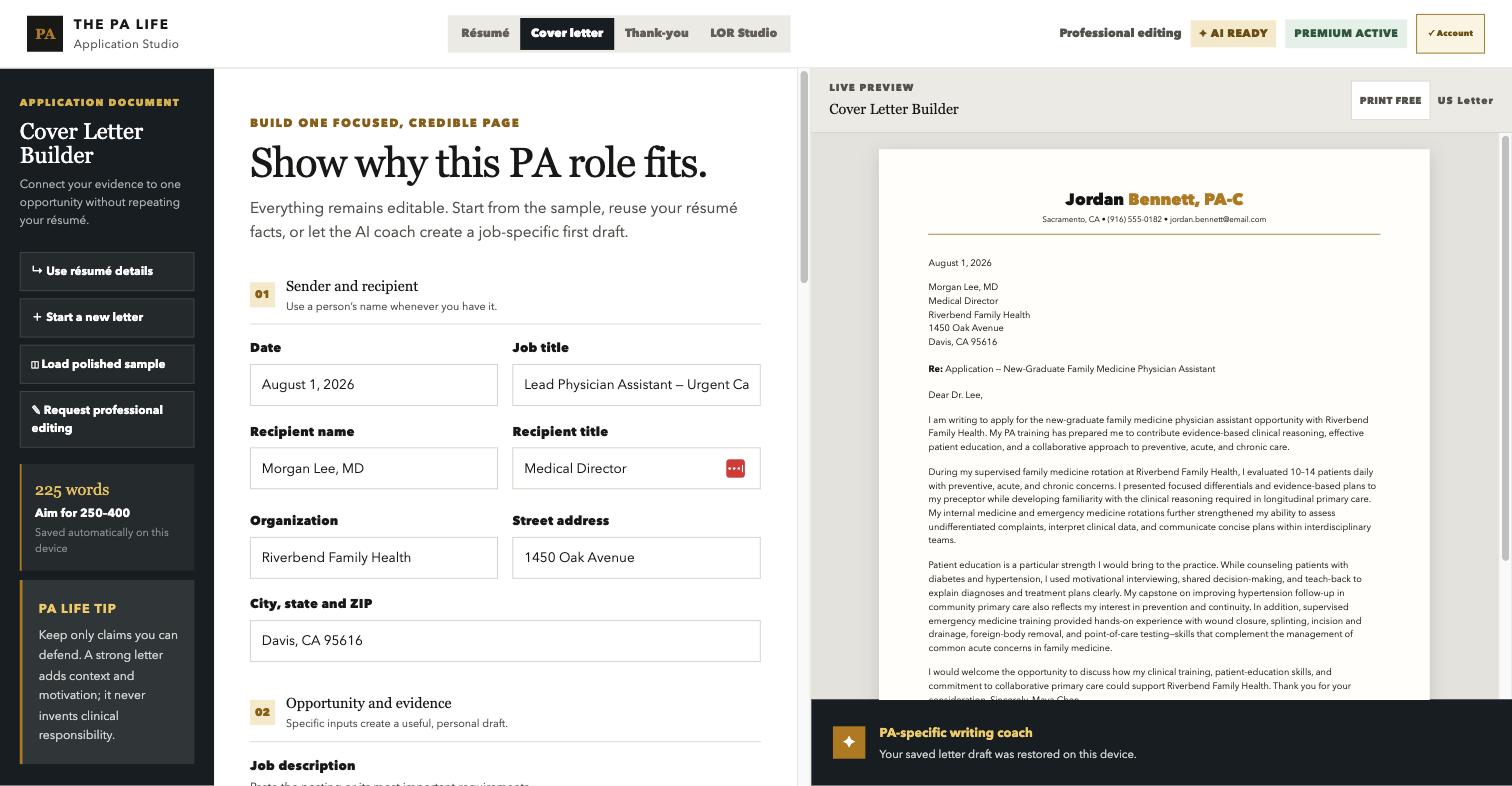
One focused, credible page — built from the same facts as your résumé.
The Thank-You Builder turns your interview into a specific, gracious follow-up within 24 hours — the small professional habit that an astonishing number of applicants skip.
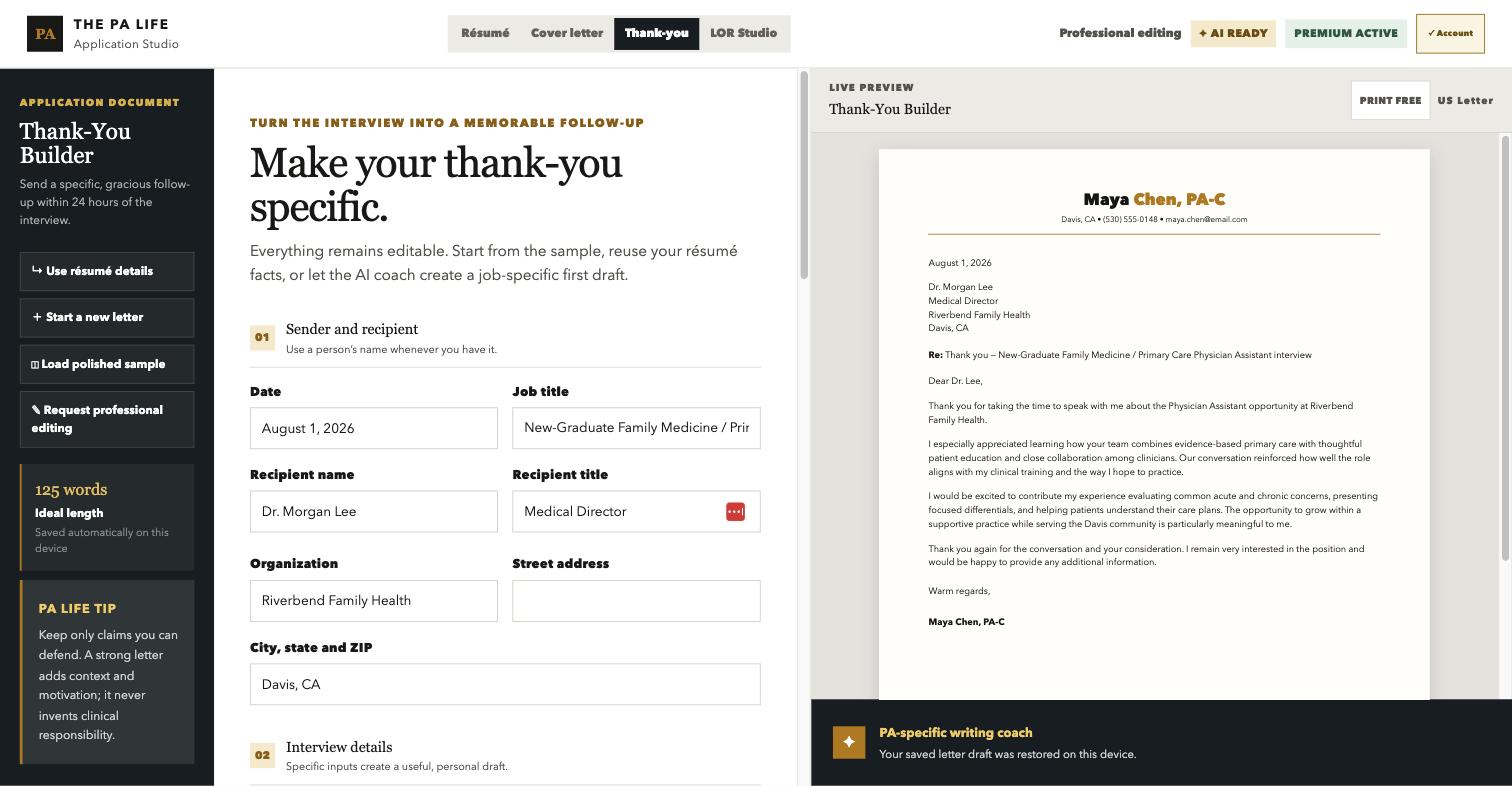
Specific beats generic — mention what you actually discussed.
There’s an LOR Studio in there too, for building evidence-rich letter-of-recommendation packets — but that’s a post of its own.
Which option is right for you?
Start in the Studio if you want guidance, a live preview, and free creation and printing — it’s the way I’d build my own résumé today. Prefer to work in Microsoft Word on your own? The Word template packs ($4.99–$11.99) give you the same format as editable files with completed examples. And when you want experienced human eyes on the finished draft, my professional editing service reviews every line.
Your next step
Open the Application Studio, pick your path, and give it twenty focused minutes tonight — just through Step 4. Rotations first; everything after that is momentum.
Your next employer is going to read this document for thirty seconds. Make every one of them count.
Thanks for reading — I’m rooting for you!
Stephen Pasquini, PA-C
View all posts in this series
- Use this Interview Hack to Get The Physician Assistant Job of Your Dreams!
- PA School and PA Job Email Etiquette: Thank-You & Follow-Up Tips
- PA Interview Thank-You Email and Follow-Up: Samples & Timing
- Your Main Goal on Your Path to PA Shouldn’t be Immediate Success or Money, But to Learn as Much as Possible
- How to Create a Winning Physician Assistant Résumé (Step by Step)
- The 10 Best Websites for Physician Assistant Job Search in 2026
- How to Write the Perfect Physician Assistant Cover Letter
- The 4 Most Common Reasons PAs Quit Their Jobs
- 10 Best Cities for Physician Assistants in 2026 (Salary vs. Cost)
- Physician Assistant Salary 2026: Four Surprising Truths Revealed
- Here are 10 Reasons why PAs remain one of the top-ranked careers in America in 2026 (and beyond)
You may also like
- PA School and PA Job Email Etiquette: Thank-You & Follow-Up TipsNot sure what to write to a PA program or employer? Here’s how to choose a subject line, say thank you, follow …
 The 10 Best Websites for Physician Assistant Job Search in 2026The twelve job platforms actually worth a PA's time — PA-only boards, the big generalists, locum, travel and telehealth — plus the …
 How to Write the Perfect Physician Assistant Cover LetterWhether you are applying to PA school, to your first PA job, or you are a seasoned PA interested in an exciting …
CASPA Personal Statement Help
 We offer comprehensive, start-to-finish personal statement assistance or help to perfect a draft you already have. We have services to fit every budget.
 Schedule a Live Recorded PA School Video Interview
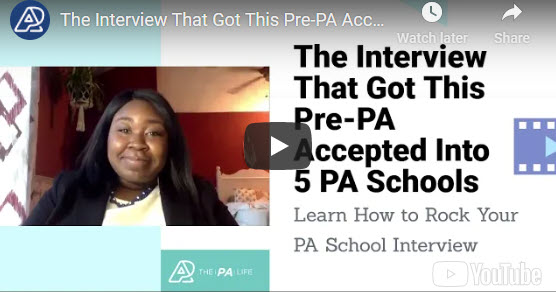
We offer 60-minute mock PA school interviews with post-interview feedback and advice. Includes a recorded video of your interview that you can watch, download, or share with family and friends. There is no better way to prepare!
Schedule an InterviewPre-PA Consulting and Advising
 Our pre-PA coaching service consists of a 1-hour phone consultation focused on addressing your specific questions or concerns about becoming a PA and applying to PA school.


Visual CV looks great, but do you think it adds an advantage for us new PA grads? It seems like old-school tradition reigns over many aspects of medicine, including the CV/Resume. I want something unique but also not unique enough to get thrown in the garbage from a more conservative employer. Thoughts?
Do you think we can use a visual cv for our CASPA application?
Hi Ruth, yes, I think you can, but I have gone back and forth on whether or not to include a photo and I think the answer may be that you should stick to one of the more conservative templates without the picture. We have a template that we use with our clients through our resume editing service. It’s concise, very clean and to the point. After seeing both I would probably go a more traditional route, although if you are feeling bold, sometimes taking a chance with something less conventional can help you stand out.